
Affiliate disclosure: As an Amazon Associate I earn from qualifying purchases. Learn more
Winter trails offer stunning scenery and peaceful solitude, but they also bring unique dangers like ice, cold exposure, and shorter daylight hours. Being prepared with the right gear can mean the difference between a memorable adventure and a serious emergency. The following items have proven track records for keeping hikers safer when conditions turn harsh.
1. Traction devices (microspikes/ice cleats)

Hard-packed snow and ice create the most dangerous footing on winter paths. Your regular boot treads just cannot grip these slick surfaces effectively.
Traction devices attach directly to your footwear and add metal spikes or coils that bite into ice. The National Park Service explicitly recommends them for icy and snowy conditions because they dramatically reduce slip-and-fall accidents.
Microspikes are lightweight, affordable, and easy to carry in your pack. When the trail turns treacherous, you will be grateful for the confidence they provide with every step.
2. A headlamp (plus spare batteries)
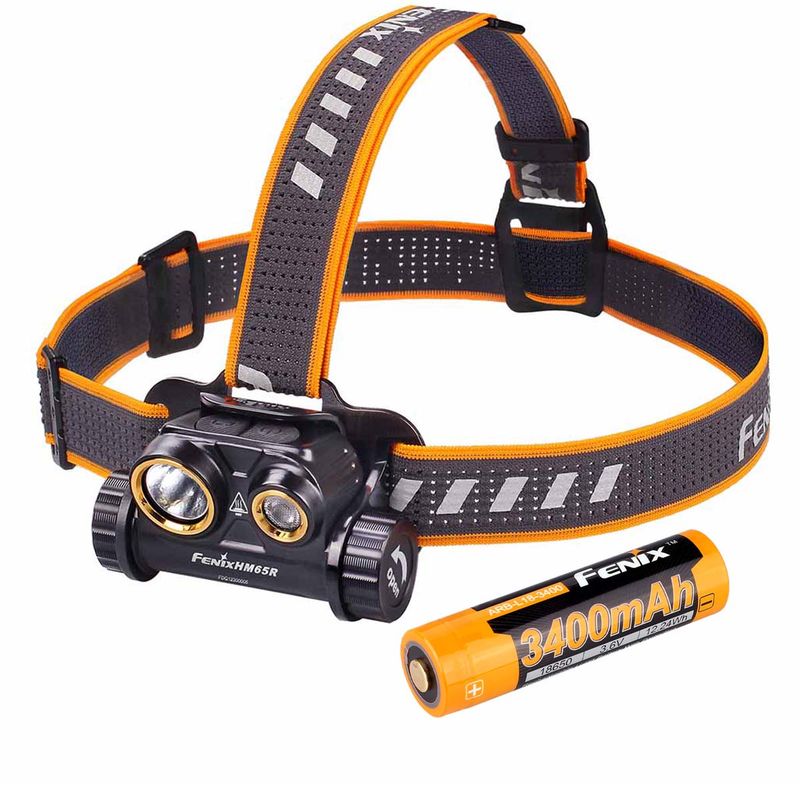
Winter days end surprisingly early, and even short hikes can stretch longer than planned. Relying on your phone as your only light source is risky because cold temperatures drain batteries fast.
A dedicated headlamp is part of the Ten Essentials for good reason. The New York State Department of Environmental Conservation specifically warns against using phones for navigation or light in winter.
Always pack extra batteries in an inside pocket where body heat keeps them warm. A reliable light source can turn a scary situation into a manageable inconvenience.
3. Map + compass (and the know-how to use them)
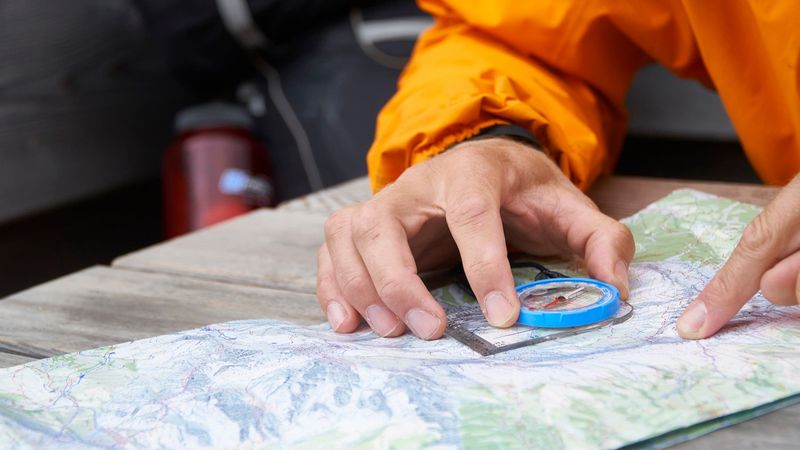
Smartphones are wonderful until they are not. Cold weather kills batteries, mountains block signals, and a single drop can shatter a screen.
The National Park Service advises carrying navigation tools like a map and compass and not relying solely on electronics. But owning these tools is not enough; you need to practice using them before you head out.
Take a basic navigation class or practice in a local park. When technology fails in whiteout conditions or deep cold, these simple tools can guide you safely home.
4. A layering system (wicking base + insulating mid + weather shell)
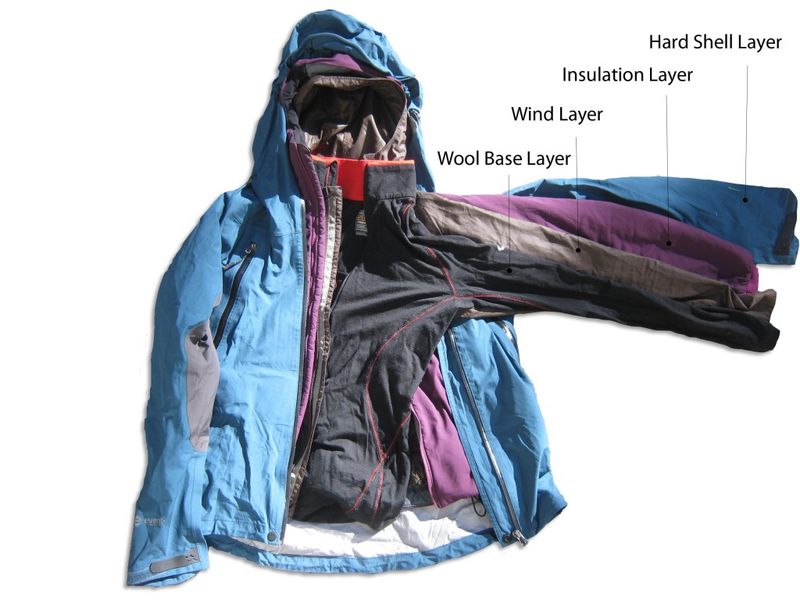
Your body is constantly adjusting its temperature on winter trails. Sweat-soaked clothes rob you of warmth, while too much insulation makes you overheat during uphill climbs.
A proper layering system lets you fine-tune your comfort. Start with a wicking base layer that pulls moisture away from skin, add an insulating mid-layer for warmth, and top it with a weather-resistant shell.
The National Park Service highlights bringing layers specifically for winter hiking. This flexible approach helps you avoid dangerous cold stress throughout your adventure.
5. A waterproof/windproof outer shell (jacket; pants if needed)
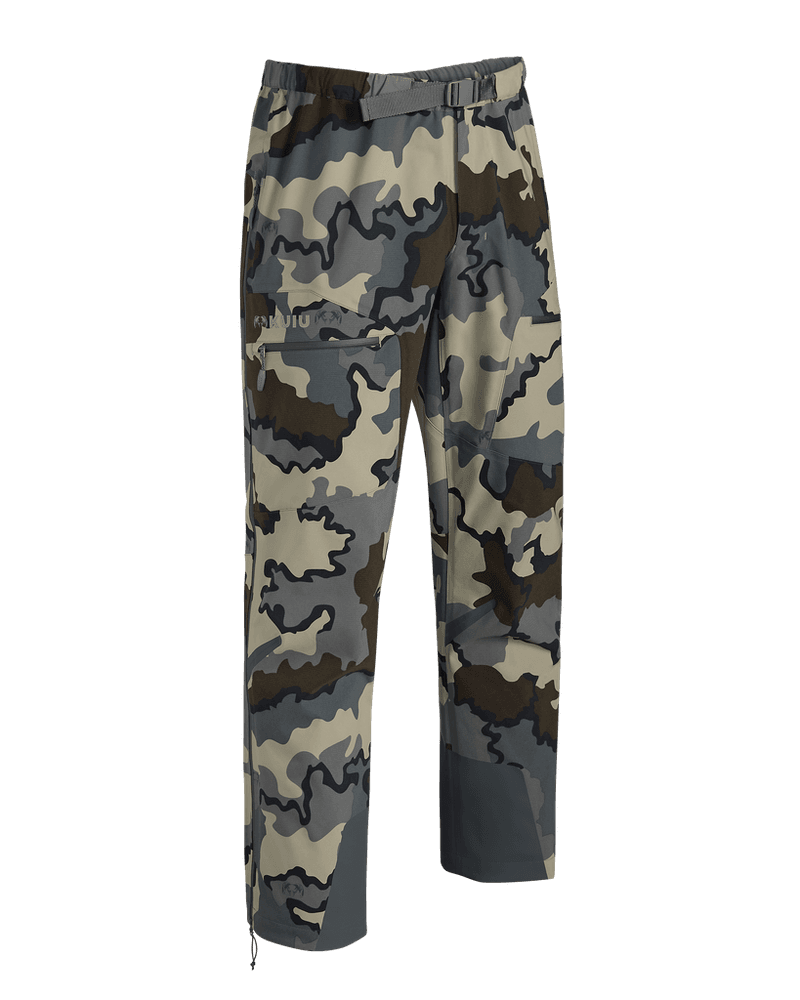
Wind cuts through regular clothing and steals body heat at an alarming rate. Add moisture from snow or freezing rain, and hypothermia risk jumps dramatically.
Your outer shell acts as your first line of defense against the elements. The National Park Service emphasizes avoiding getting chilled or wet and specifically recommends packing a rainproof layer for hypothermia prevention.
Look for jackets with sealed seams, adjustable hoods, and pit zips for ventilation. In exposed conditions or when weather turns nasty, waterproof pants become equally important for protecting your lower body.
6. Insulated hat + warm gloves/mittens
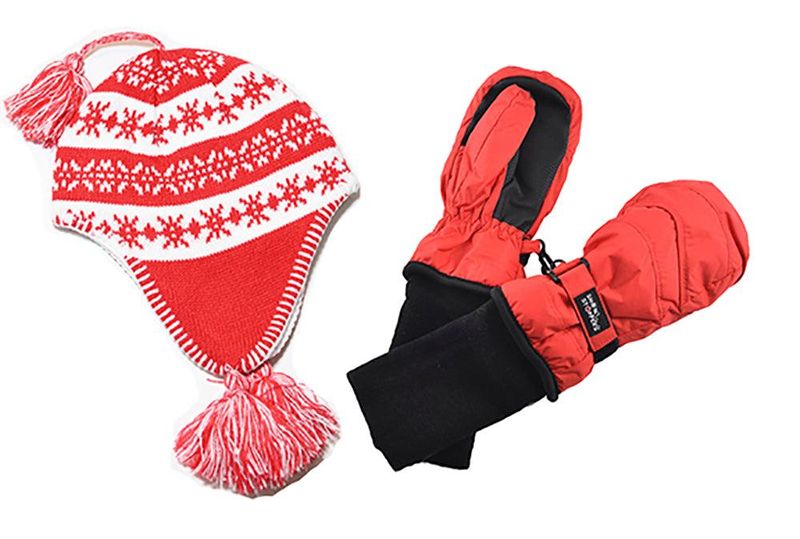
You lose a surprising amount of heat through your head and hands. Cold fingers also make it nearly impossible to work zippers, buckle straps, or handle first-aid supplies.
The National Park Service hypothermia guidance specifically calls out packing a warm hat and gloves as essential items. Mittens keep fingers warmer than gloves because your digits share heat, but gloves offer better dexterity.
Bring both if possible, or choose insulated gloves with removable liners. Keep a spare pair tucked away in case your primary set gets wet during the hike.
7. Extra dry layers (especially socks)
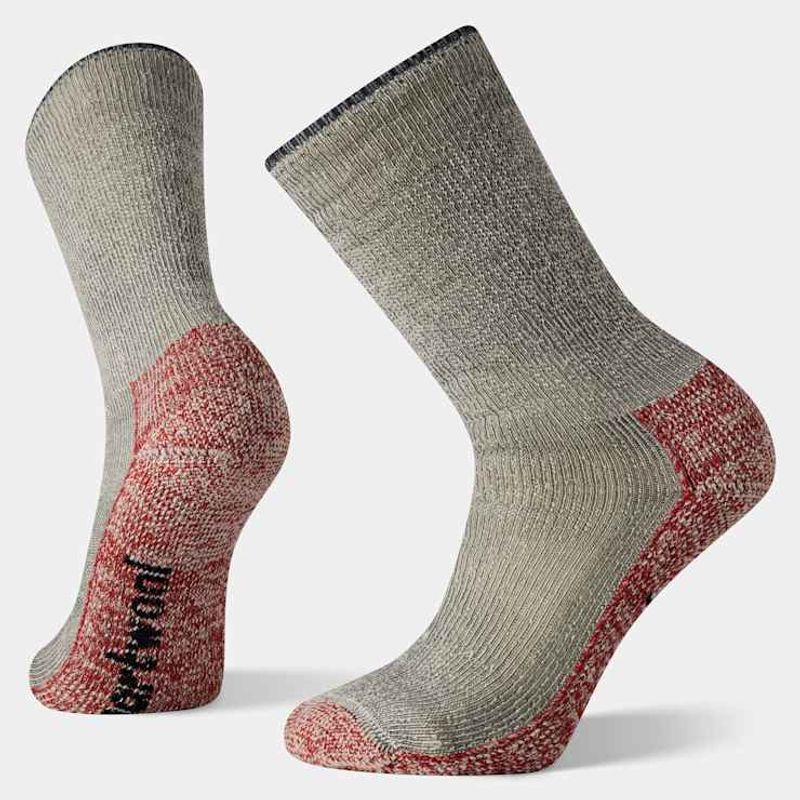
Wet clothing is miserable and dangerous in winter conditions. Whether from sweat, melted snow, or an unexpected stream crossing, moisture against your skin accelerates heat loss.
Carrying extra clothing and insulation is a core part of the Ten Essentials system. Fresh socks are particularly valuable because your feet work hard all day and tend to get damp.
Pack your spare layers in a waterproof bag so they stay dry no matter what. Being able to change into dry insulation can transform your comfort level and potentially prevent a cold-related emergency.
8. Emergency shelter (bivy, space blanket, tarp)
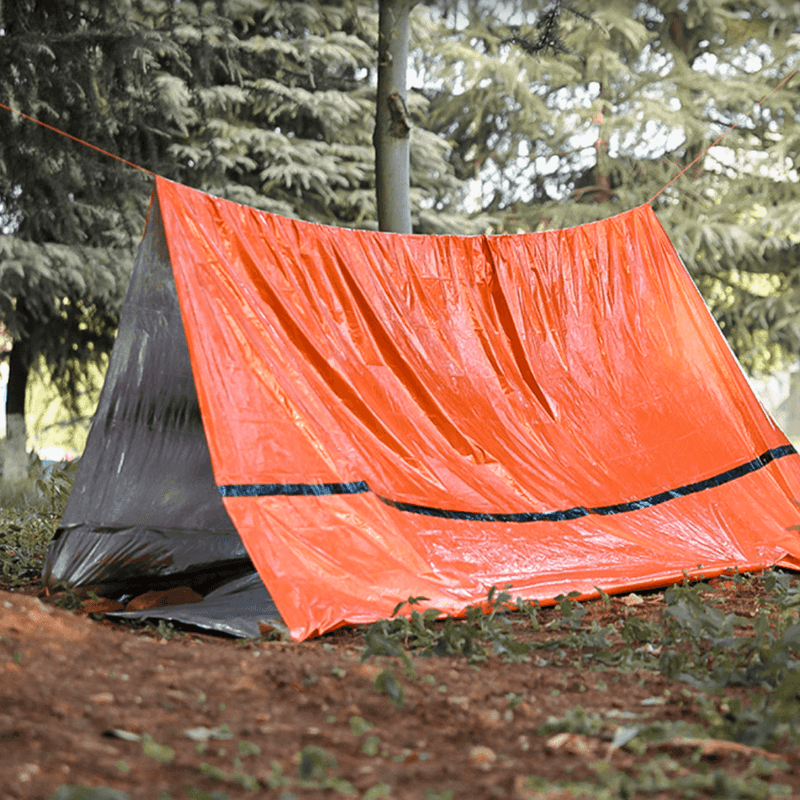
Plans change on the trail. An injury, sudden storm, or navigation error might force you to stop moving when you least expect it.
Emergency shelter helps reduce heat loss if you are delayed or unable to continue. The National Park Service includes emergency shelter as part of its Ten Essentials list for exactly this reason.
A lightweight bivy sack, space blanket, or small tarp weighs almost nothing but provides critical protection. Even just blocking wind and reflecting body heat back to you can buy precious time until help arrives or conditions improve enough to move.
9. Fire-starting kit (lighter/matches + starter)
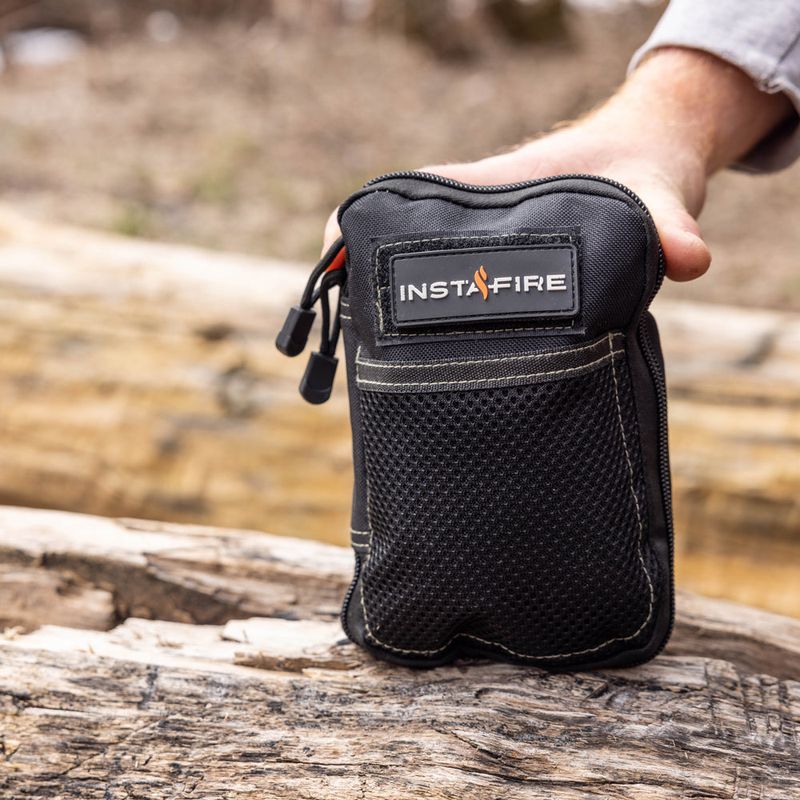
The ability to make fire is one of the oldest survival skills, and it remains relevant on modern trails. Fire provides warmth, a way to dry wet gear, and a signal for rescuers.
The National Park Service includes fire-starting capability in the Ten Essentials. Carry at least two ignition sources like a lighter and waterproof matches, plus some kind of fire starter like cotton balls soaked in petroleum jelly.
Practice building fires in winter conditions before you need this skill in an emergency. Always check local regulations, as fires may be restricted in certain areas even during winter months.
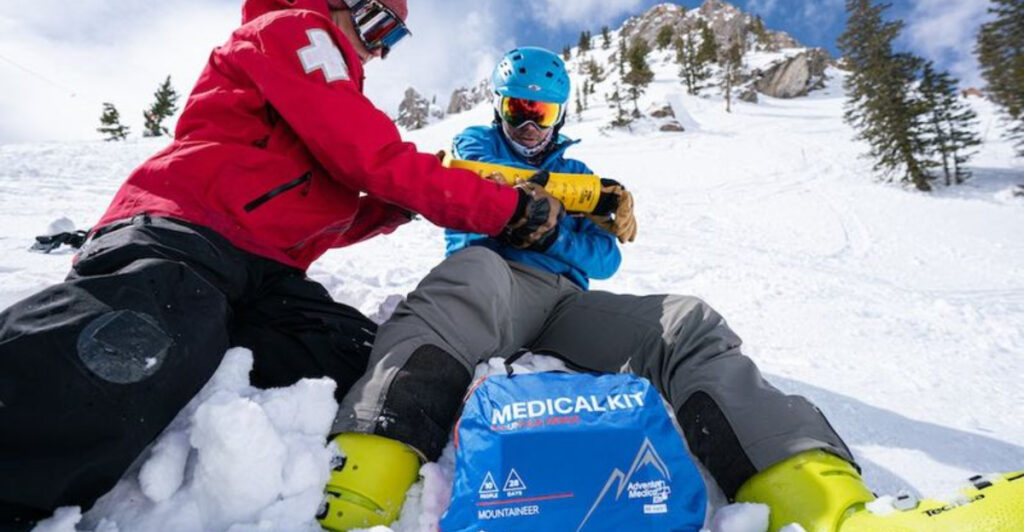
10. First-aid kit (tailored to winter)
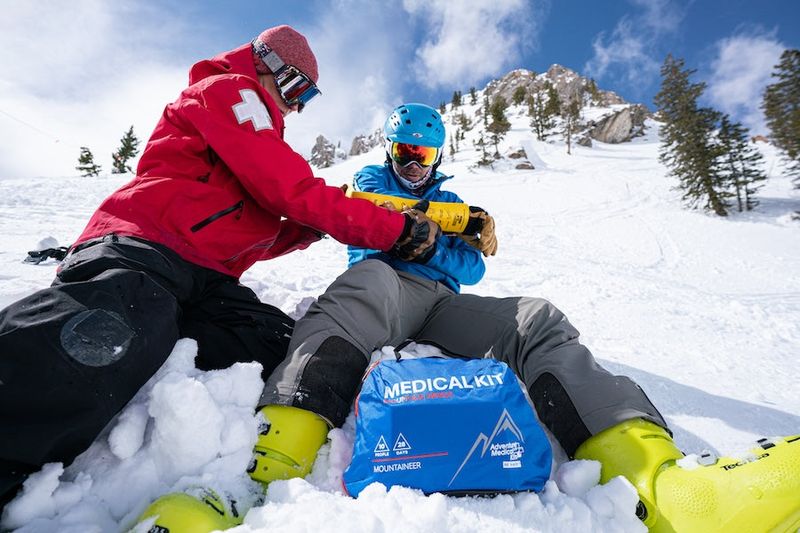
Accidents happen more frequently on slippery winter trails. Icy surfaces increase fall risks, and cold numbs your judgment and coordination.
The National Park Service lists first aid as part of the Ten Essentials. Your winter kit should include standard supplies plus items for cold-related problems like chemical hand warmers and extra insulation.
Add blister treatment, pain relievers, and any personal medications you might need. Knowing how to recognize and treat hypothermia and frostbite is just as important as carrying the supplies. Take a wilderness first-aid course if you hike regularly in remote areas.
11. Whistle (for signaling)

Your voice gives out quickly when you are shouting for help. Cold air makes it even harder to project sound over long distances.
A whistle is lightweight, requires no batteries, and works even when you are exhausted or injured. It is commonly included on winter day-hike checklists used by outdoor organizations and education programs.
Three short blasts is the universal distress signal. Attach your whistle to your jacket or pack strap where you can reach it easily. The piercing sound carries much farther than the human voice and can help rescuers locate you faster in dense forest or poor visibility.
12. Extra food (think: an extra day’s worth)

Your body burns significantly more calories trying to stay warm in winter. Snow makes trails slower to navigate, and shorter daylight hours can stretch your trip longer than expected.
The Ten Essentials guidance emphasizes extra food and nutrition specifically for unexpected delays. Pack calorie-dense items that will not freeze solid, like nuts, chocolate, energy bars, and dried fruit.
Bring at least one full extra day of food beyond what you think you will need. If something goes wrong, having extra fuel for your body can make a huge difference in your ability to stay warm and think clearly.
13. Extra water + a freeze-resistant plan (insulated bottle / hot drink)
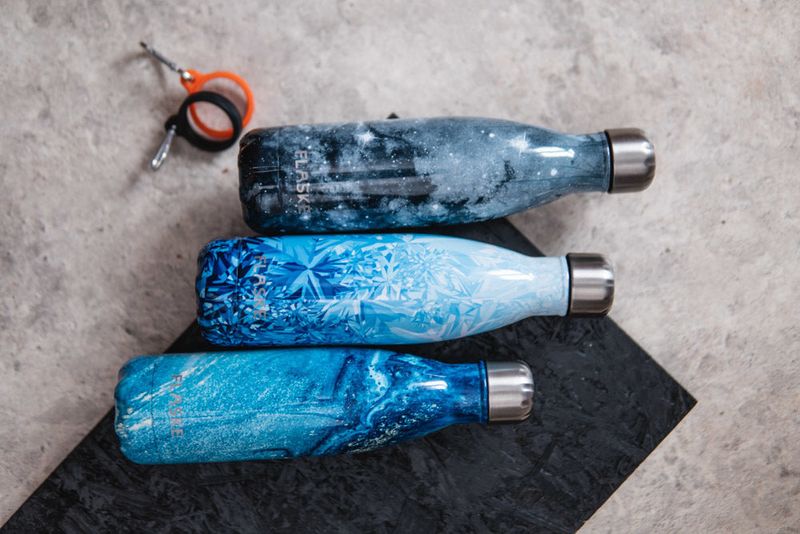
Cold weather tricks your body into thinking you are less thirsty than you actually are. Meanwhile, dry winter air and heavy breathing increase your fluid needs.
The National Park Service recommends bringing lots of water and snacks for winter hiking. Regular bottles can freeze solid, leaving you unable to drink when you need it most.
Use insulated bottles or carry a thermos with a warm drink to keep fluids accessible. Some hikers store bottles upside-down so ice forms at the bottom instead of blocking the opening. Dehydration impairs your judgment and increases cold-injury risk, so drink regularly even when you do not feel thirsty.
14. Sun protection (sunglasses + sunscreen)
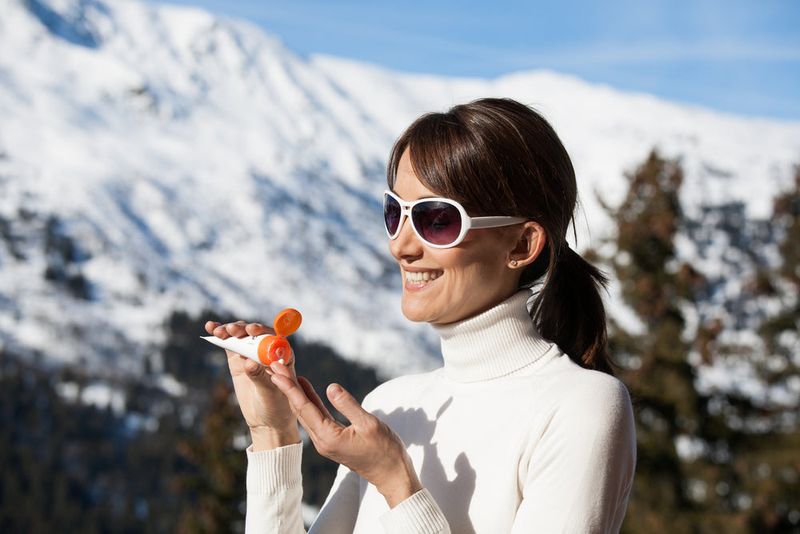
Snow reflects up to 80 percent of UV radiation back at your face. This intense glare can cause snow blindness, a painful condition that feels like sand in your eyes.
The National Park Service explicitly includes sunglasses and sunscreen in winter hiking guidance and the Ten Essentials concept. Sunburn happens year-round, and it is often worse in winter because people forget about it.
Choose sunglasses that block 100 percent of UV rays, ideally with side shields for glacier travel. Apply sunscreen to exposed skin, including often-forgotten spots like your ears, nose, and under your chin where reflected light hits.
15. Avalanche rescue gear (transceiver + probe + shovel) when traveling in avalanche terrain
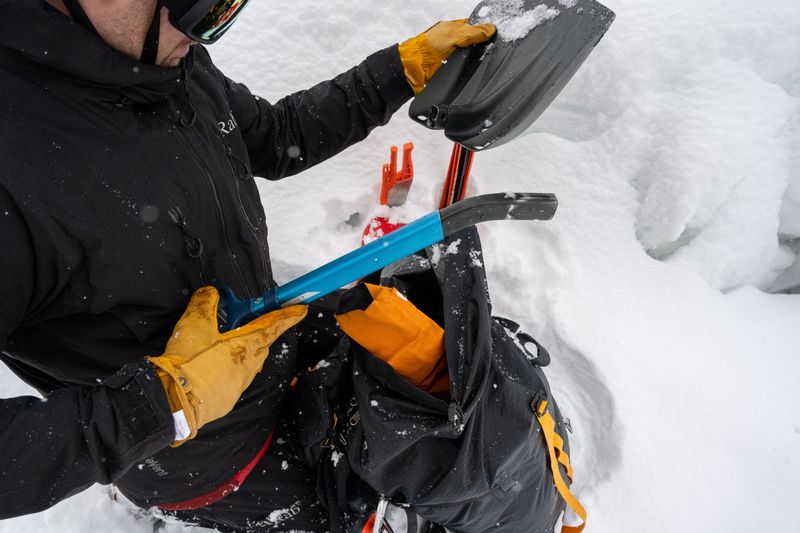
If your route crosses avalanche-prone slopes or sits beneath them, this gear is absolutely non-negotiable. Avalanches kill quickly, and survival depends on immediate rescue by your companions.
The Northwest Avalanche Center states that everyone must carry a transceiver, probe, and shovel for travel in snowy mountains and avalanche terrain. But gear alone is not enough; you need training to use it effectively.
Take an avalanche safety course before venturing into the backcountry. Practice transceiver searches and probe techniques regularly. Check avalanche forecasts before every trip, and be willing to change plans when conditions are dangerous.